Tuesday 13 December 2011

Back for a few weeks and back to work on the yawl!

Merry Christmas,

After being away for a while I'm back on the Devon yawl case! She will be lifted off her trailer by crane at the local canal boat wharf and then the centre plate will be removed ready to be shot-blasted in the next week. I will take this time to replace the centreboard slot gasket and thoroughly check the hull, as ever I shall take detailed photos of the work and post them on the blog.

Happy Sailing,

Rich

Monday 24 October 2011

Work Continues

I'm still out the country, but i spoke to my father over the phone yesterday and the intention was for him to open up the tanks and remove the foam this weekend! I wonder how much water will be in there?

Monday 26 September 2011

Last sail for a while....

I will be out the country for a little while, so will be hanging up my wetsuit and putting down my screwdriver until the winter.


This weekend I took my skiff out for my last race on the Exe and tucked it up for winter, wind was shifty and dropped from a force 4 down to a drifter, but it was still great fun. The next time I go sailing it will defiantly be a little colder!


Work will continue on the Yawl as my father, Nigel, will be running with the refurbishment, and since we have pretty much taken her apart, he gets the fun of putting her back together. Hopefully he will keep the blog going and add photos of his progress.


Happy Sailing,
Rich
(I just spotted a DY in the photo of my skiff, probably best I have a break lol)

Monday 19 September 2011

A very productive weekend


This weekend we worked hard and managed to achieve the following:

  • Visit Southampton Boat Show - see post
  • Find a new home for the masts booms and sails - see our earlier post
  • Have a great chat to a yawl sailor called Dave who is based in the West Midlands
  • Put together a project plan - I'll get my father to post it up on the blog 
  • Remove all the centreboard case capping and thwart - photos uploaded to Flickr 
  • Remove the last of the fittings - Photos also on Flickr
  • Inspect the forrad bulkhead - we have removed the hatch to the tank for improved access while working and to let it breathe
  • Start to prepare the deck for a re-spray
All despite sinking a little too much rum with friends on Saturday night.


Southampton Boat Show

I have been working in Portsmouth for the past week and could not let the opportunity pass to get my father down to Southampton and go and chat to John Lack, (a boat builder who sells new Devon Yawls and also restores older ones) at his stand at the Boat Show. John was was exhibiting DY 1, the original Devon Yawl in its restored state. I also had a chat at the Ullman sails stand which proved very useful.


Thanks to some very helpful e-mails sent to us by Ted Timberlake (a very knowledgeable member of the class association) there were strong grounds to suspect that some restoration work had been carried out on DY171 in the past, possibly by John Lack. John said that he will get back to us if he has any info and also give us some quotes for work ie a retro fitted well on the stern for the outboard.  Its a shame that John does not have a website as I do most of my Devon Yawl related research and fact finding at very unsociable hours, but I'm glad to have had a face to face chat with him.

All in all we had a very successful time at the show, I was most impressed with our chat with Ullman sails, who offered us a very competitive price on new sails and also suggested that they would work closely with Allspars (a Plymouth based rigger) to spec, tune and rig our yawl. I'm not wanting to re-invent the wheel with regard to rig but there are several personal touches both my father and I would like to make for example a good fly away pole system, which would require close work with both the sail maker and the rigger.

Photos of DY1 can be found on my flickr photo stream on the right hand side of the blog, or here

Thursday 15 September 2011

Thoughts and ramblings regarding rudders.

The Devon Yawl class rules are very specific on the construction materials allowed, and the dimensions of the hull and sails, but do not give any guidance about the rudder.

I write this as I almost purchased a carbon foil the other day. I didn't go ahead as I did not want to fall foul of the class rules and couldn't justify spending the money on a blade that I may not able to race with.

The class rules state: "The use of Kevlar, Mylar or carbon fibre or other similar exotic materials is prohibited in the construction of hull or sails." Do I also take this to mean that I may have a carbon rudder, tiller extension or tiller?

I am also in deep internal debate about the dimensions and shape for the rudder, I understand from reading previous posts on the Devon Yawl class forum what seems to be fast, e.g. rs400 blade, however there are much more efficient (and lighter) blades of these dimensions, eg fireball/505 blades or even a modern merlin rocket rudder. 

Having sailed in various classes from the GP14 to my Musto skiff I understand that, non plaining boats at sub 5kt speeds require a differing shape / raked foil, especially if you want to move on a startline! But without buying up all the rudders in the land its hard to speculate.

All I know is that the flat metal sheet DY171 has at the moment is not going to be very fast?

DY171s current rudder blade

A carbon blade??


Thursday 8 September 2011

Sails for sale ..... and a mast, boom and luff spar!

As part of our renovation of DY171 we intend to completely re-rig her! 
This means we have a holt main mast + boom, main sail, mizzen and genoa looking for new homes. If you are interested in any of this kit you can contact me by commenting on the blog or e-mailing me, I am open to offers.
The roller reefing Holt luff spar is also for sale.
(See the links below for photos!)
Thanks,
Rich
MizzenMain, Genoa, Main Mast, Boom, Holt Luff Spar
All SOLD!

Sunday 4 September 2011

Work Starts (a long road ahead)

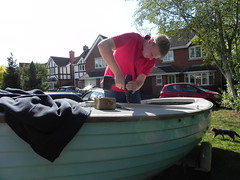
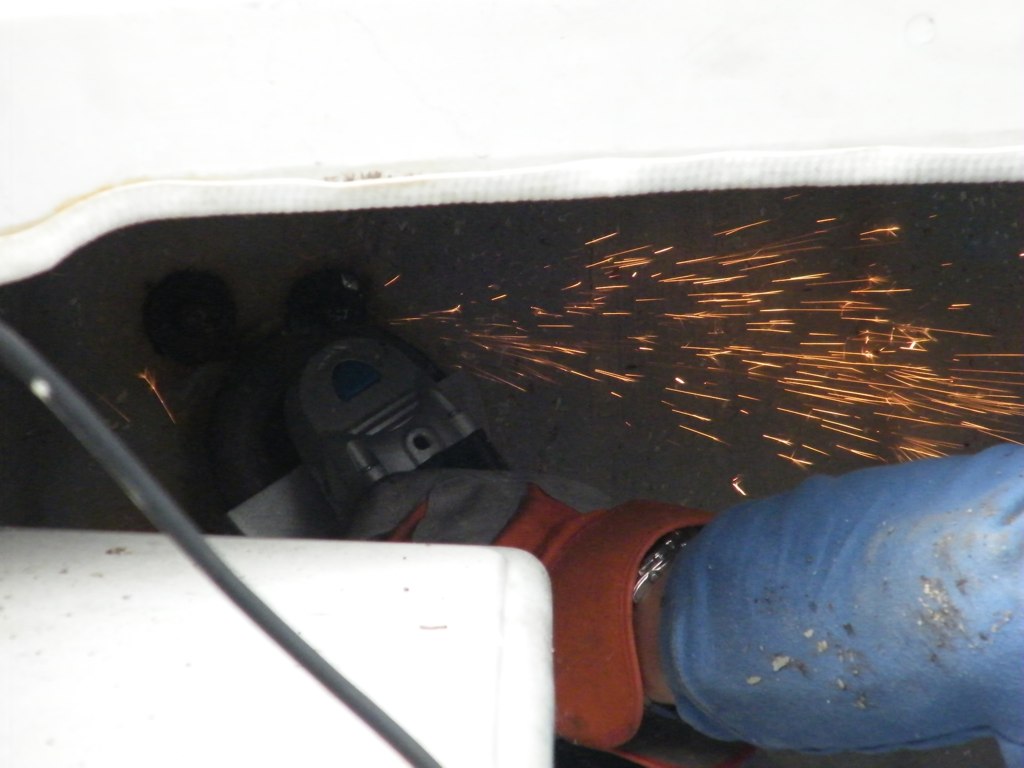
The refurbishment started with taking off all fixtures / fittings and the floorboards. This was not an easy task as many fitting were fixed with heavily corroded screws, nuts and bolts. The worst corrosion was located on the transom where the outboard bracket was thoroughly attached, the remedy, after trying several methods came in the form of an angle-grinder.

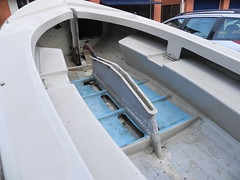
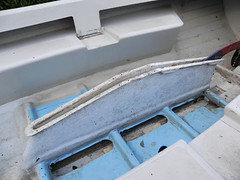
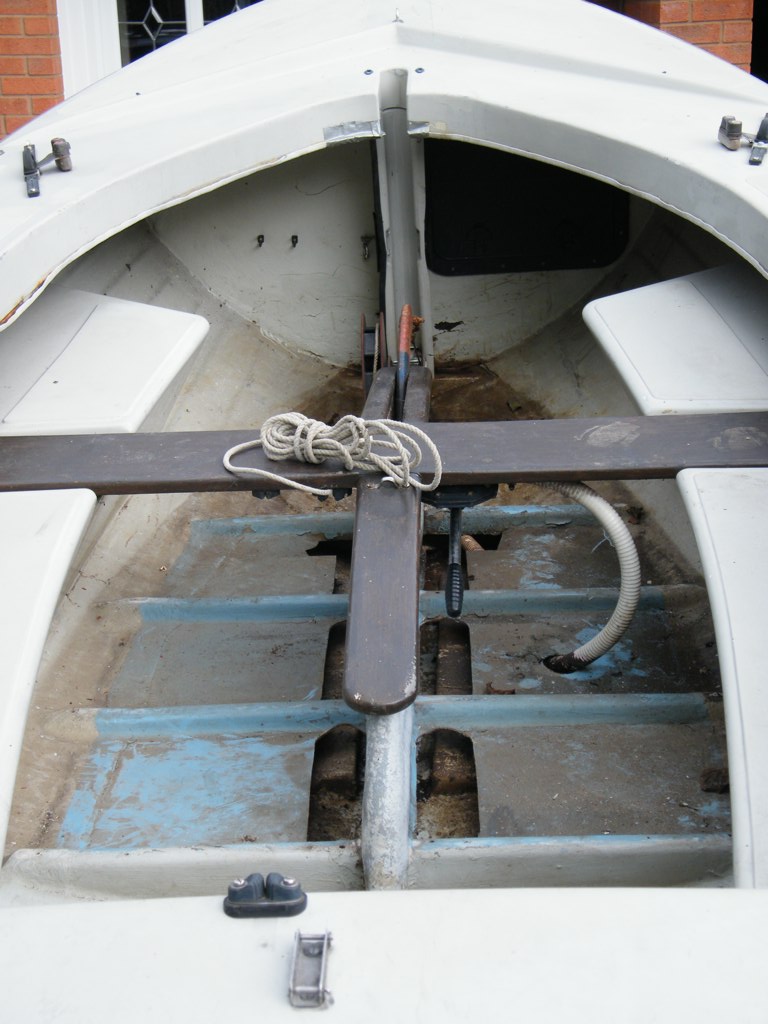
Once the outboard bracket had been released from the stern we focused on the floorboards and revealing the bilge.  Fortunately this was in an ok material state but in desperate need of a clean and tidy up as there was lots of paint chipping, sand, silt and mud clogging the bilge pump inlet and rotting the floorboards.

The floor boards will need to be replaced, as the aft floorboard was rotten and snapped in two as it was removed, however we can use the old boards as templates for new ones.


Finally we stripped most of the fittings from the deck (again problems of dis-similar metals and corrosion made this a laborious task). We are keen to re-spray the deck white so we will fill all holes and wet and dry the deck in preparation over the next few months.

The priorities are now;
  • Pricing a deck re-spray and preparing surfaces
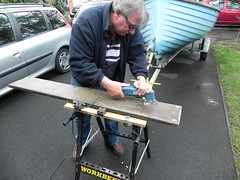
  • Cutting new floorboards from marine ply then epoxy treating them
  • Fitting an new outboard bracket
Further investigations need to be made into:

  • The forrad bulkhead interms of its water tight integrity
  • Placing a drain hole through the forrad winch / mast foot section of the bilge into the rest of the bilge, so that water can flow away from the winch base.
New photos can be viewed on the flikr photo stream on the right hand side of the blog or at GBR_K1790

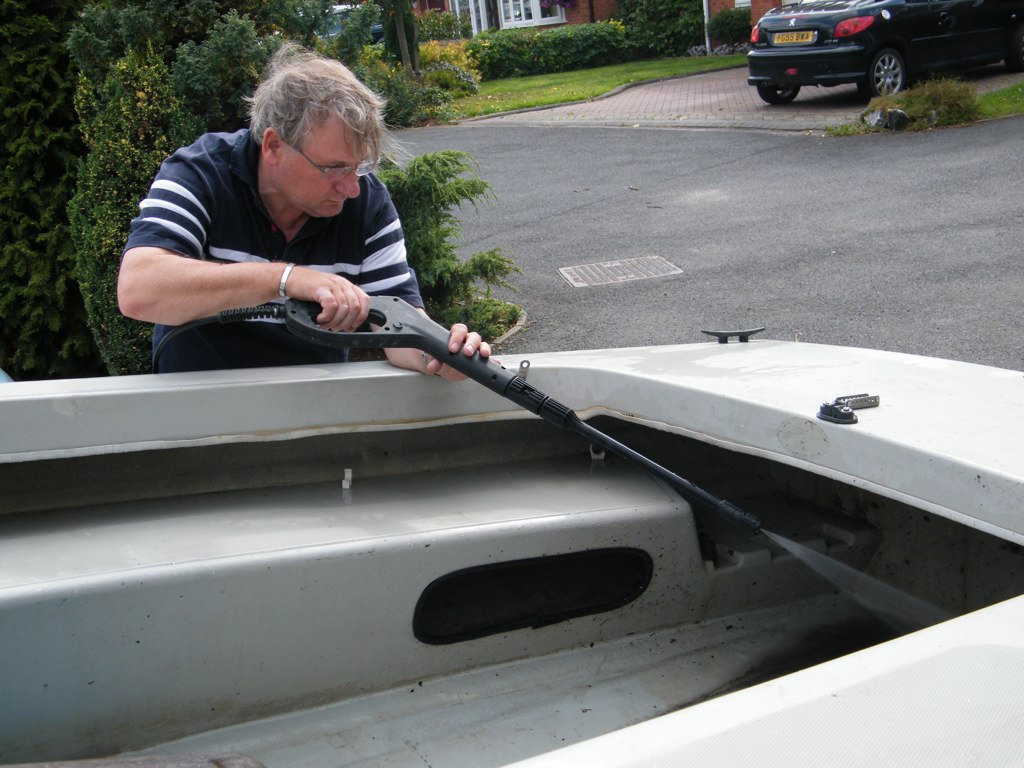
Pressure washing grime out of the bilge 


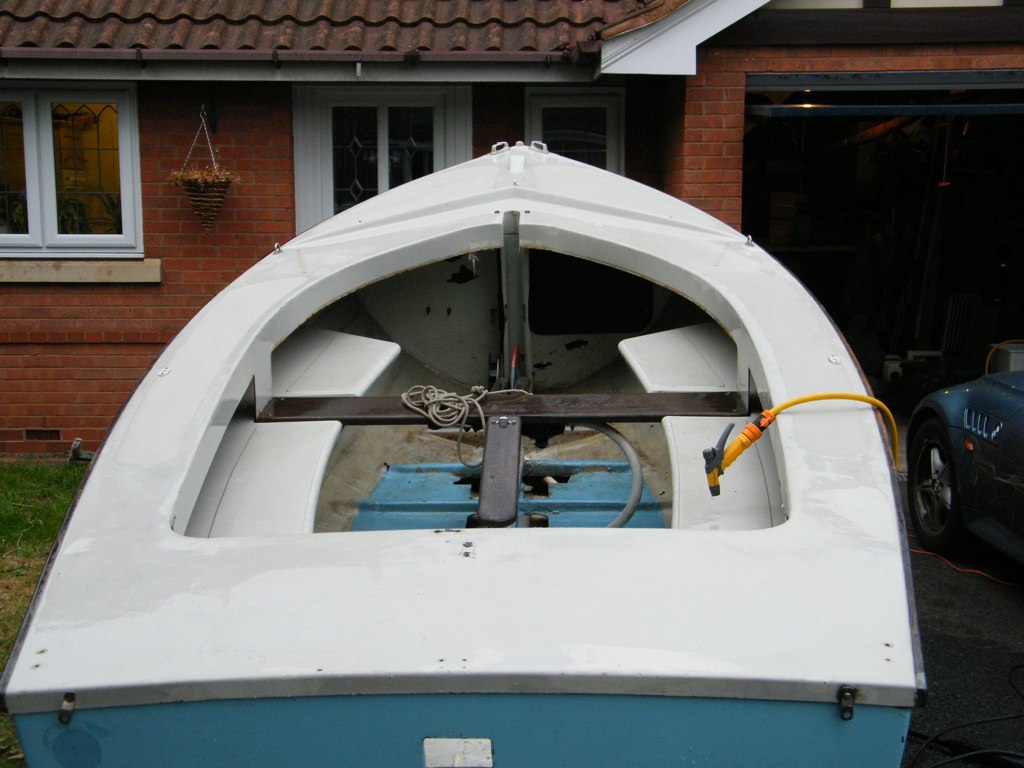
Most deck fittings removed
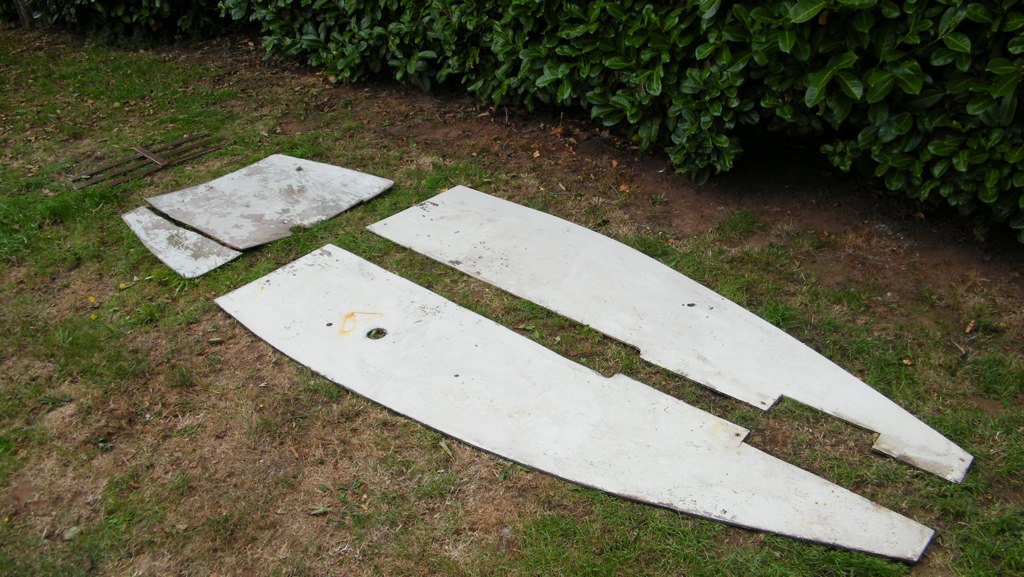
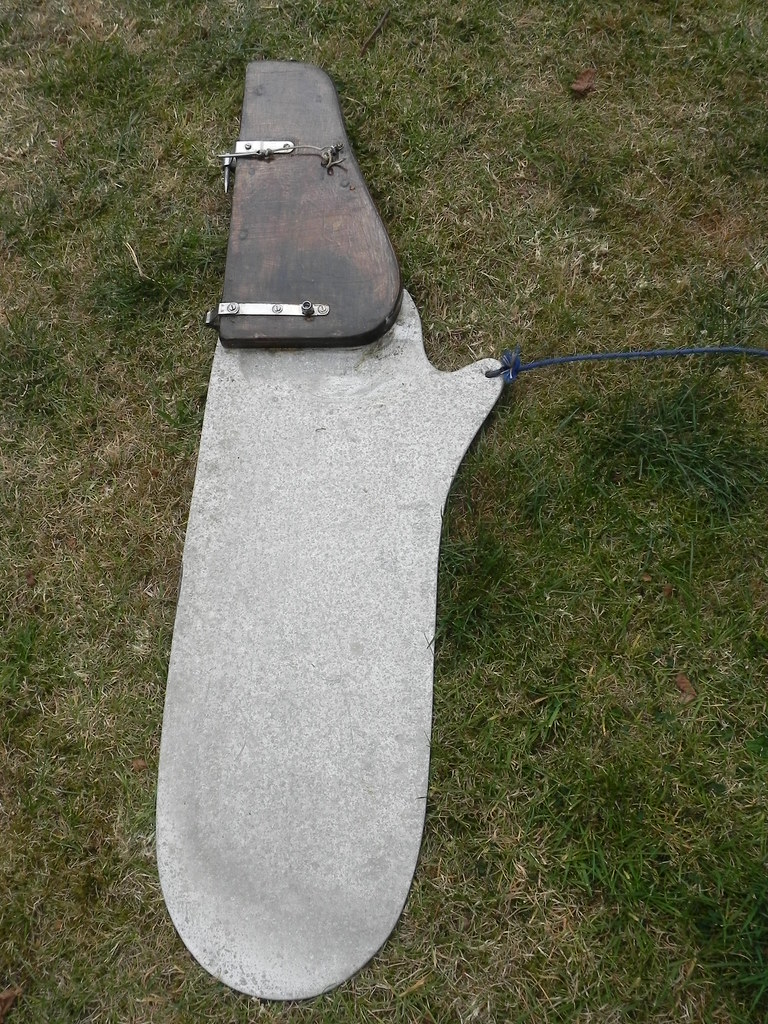


Wheel Bearing Finally Changd

After a few days in Paris I returned to the UK to use my last few days of holiday to work on the Yawl. I started with making the road base usable by replacing the wheel bearing that blew out  (post). This was easier than I thought (having never changed a wheel bearing before) I found a video on youtube which explained what to do, bought the parts and fitted them in a couple of hours.


New Bearing

Replacing bearing

Packing Baring

A Handy Youtube Video


Wednesday 24 August 2011

Photo Inventory

Yesterday, we produced a full photographic inventory of equipment bought with the yawl. A photographic inspection of tanks and other hard to view parts of the hull is also included.

I did give the hull a quick scrub to show up anything that may have been hidden, but generally all photos show the boat as we bought it.


Monday 22 August 2011

Devon Yawl 171

One yawl collected - one long day

We finally collected the yawl, the only problem was that the road base was not up to the 200 mile journey from Poole to the West Midlands (her home wile under refurbishment) and we lost a wheel!!! I was following the boat in my car and watched the wheel bearing blow out, by the time we got to the car park at a nearby Tesco the wheel had almost fallen off completely!
Good news was the AA towed the boat back for us!

Lessons Learned

Always check the road base thoroughly!! Even if the base has been "serviced".
The AA will tow a boat back home for you  :  )

Some photos for your amusement:


Thursday 28 July 2011

A Simple Plan?

  1. Buy a devon yawl for as cheap as posible (the only requirement is a sound hull and usable road trailer)
  2. Tow boat to West Midlands and place in family garage
  3. Renovate hull
  4. Re-rig to own specification
  5. Buy decent set of sails
  6. Tow to Topsham in Devon (my home)
  7. Sail and race with family by Summer 2012
Simple........... lets find how simple?